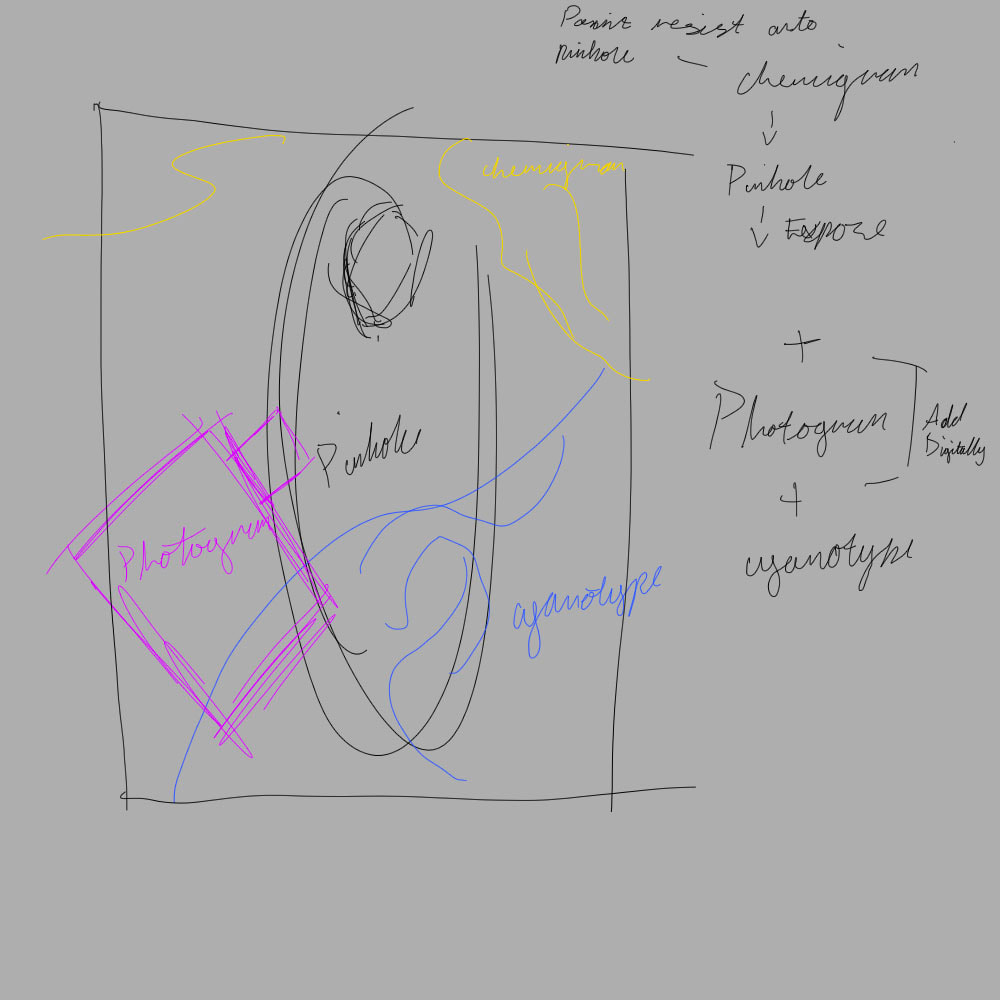
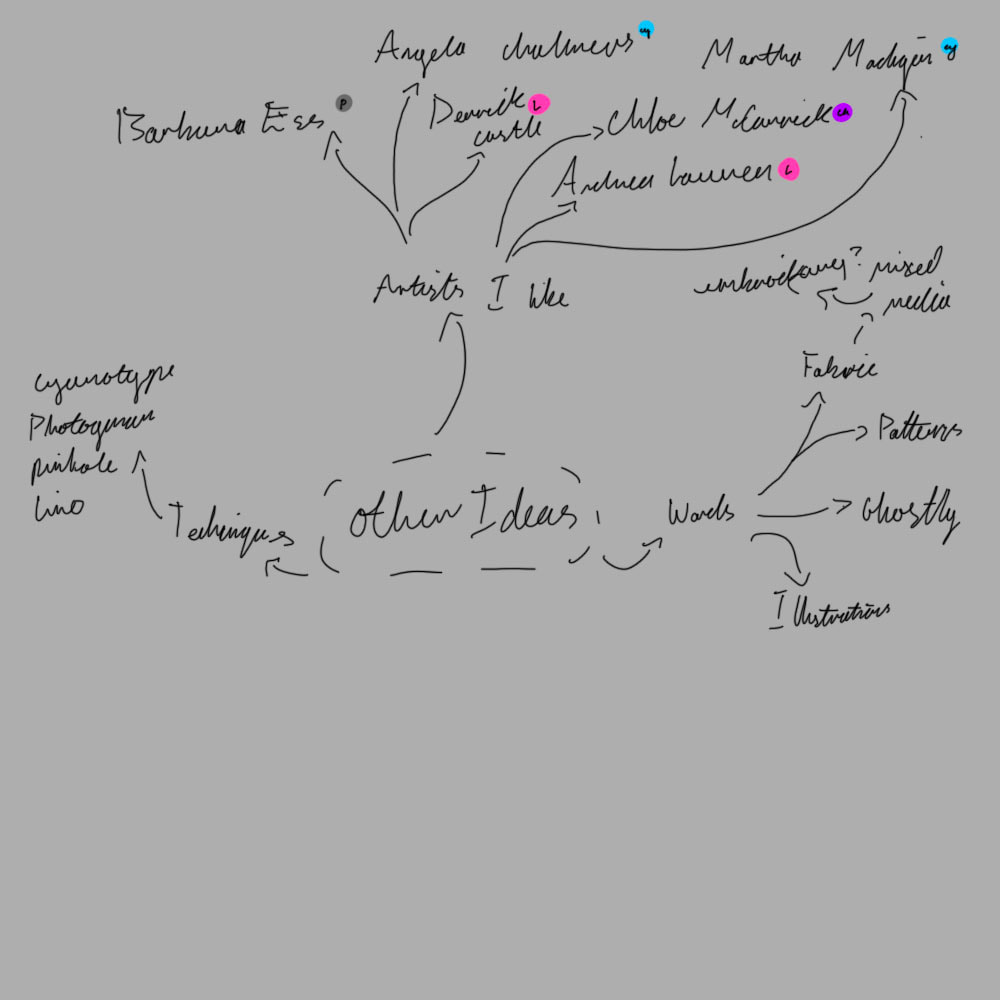
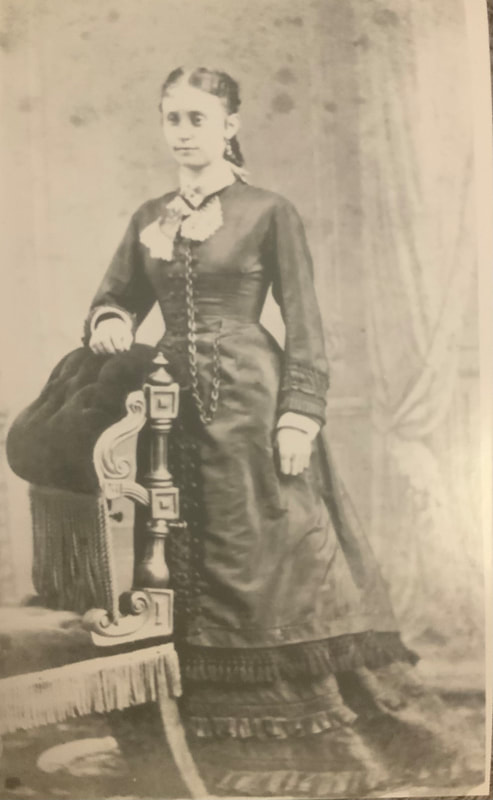
Initial IdeasFirst IdeaMy first idea was to combine all of the elements we’d leant into one piece. All tied together with an overarching theme. That theme probably being Victorian portraiture as firstly I like Victorian things, and secondly why not start with where photography first originated from, the Victorians. How it would work? Well, I’d start with a piece of photographic paper, paint some resist onto it, stick it in a pinhole camera, take a full body portrait of myself in Victorian garb, develop in dark room with a a mixture of spraying developer and developing as normal. Before finally doing a separate photogram of a Victorian item (probably a fancy looking perfume bottle). And lastly a cyanotype of some kind of pattern, again probably lace. I would then combine all these elements on photoshop and that would be the final result. Second IdeaMy second (and less fleshed out) idea was to create something a kin to what Angela Chalmers does in her work but then to also add a mixed media element to it in the form of embroidery. My idea being to create a cyanotype on a translucent fabric and then hand sew an image into it. I was thinking perhaps using flowers to create the the cyanotype and then for the sewing part maybe miss-matching flowers floating over the other flowers of the cyanotype. Though truth be told at this point I think I had already made up my mind on doing the first idea and so coming up with a second was rather difficult. Plan of Execution
After I had made the visualisation I then started thinking about all the materials I would need if I were to do everything as originally planned. The list would include; glue (for chemigram), photographic paper, one pinhole camera (and something to rest it on, maybe a tripod), one piece of lace (for cyanotype), one piece of paper coated in cyanotype, one perfume bottle (for photogram) and finally another piece of photographic paper for the photogram, plus use of the dark room. Needless to say it was at this point it occurred to me that maybe I was over complicating things and it might just be easier to cut down on a couple of the techniques for the sake of time. And so I decided I would do both the perfume bottle and lace as a photogram, and exchange the pinhole for a photo taken using a DSLR camera. Which I could then transfer onto a piece of acetate and use it to create a photogram. The health and safety risks associated with this would just be the usual darkroom and photography studio concerns. See below for both risk assessments.
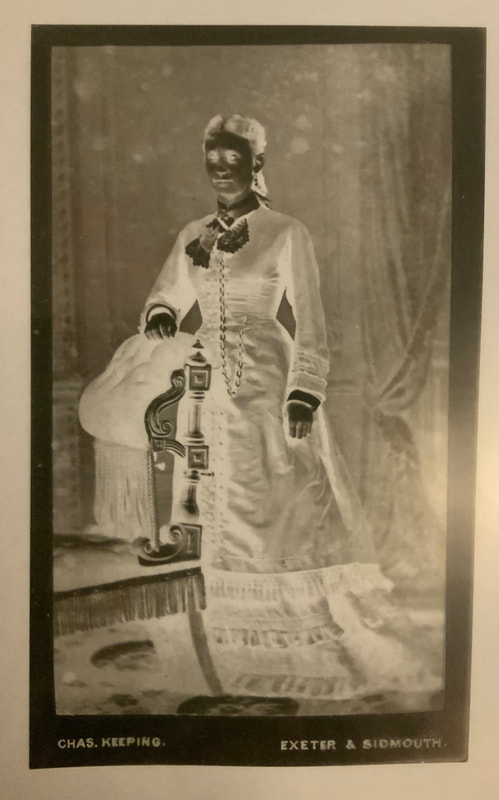
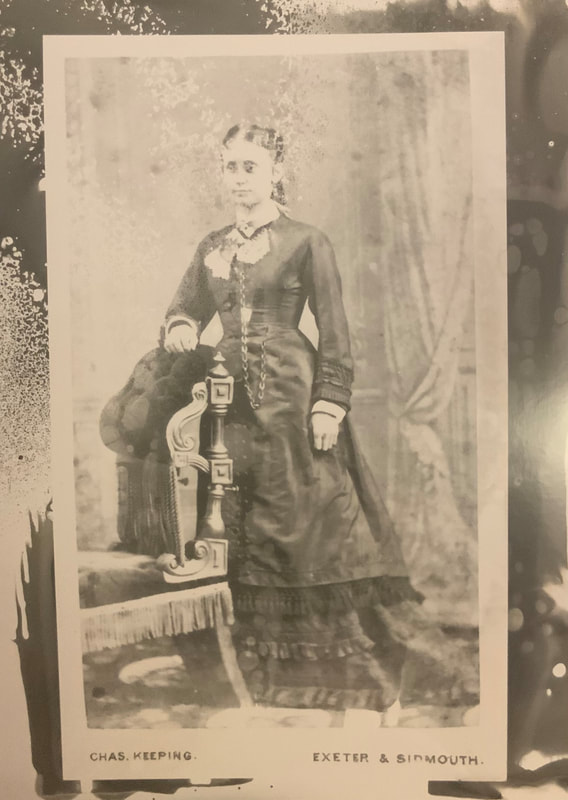
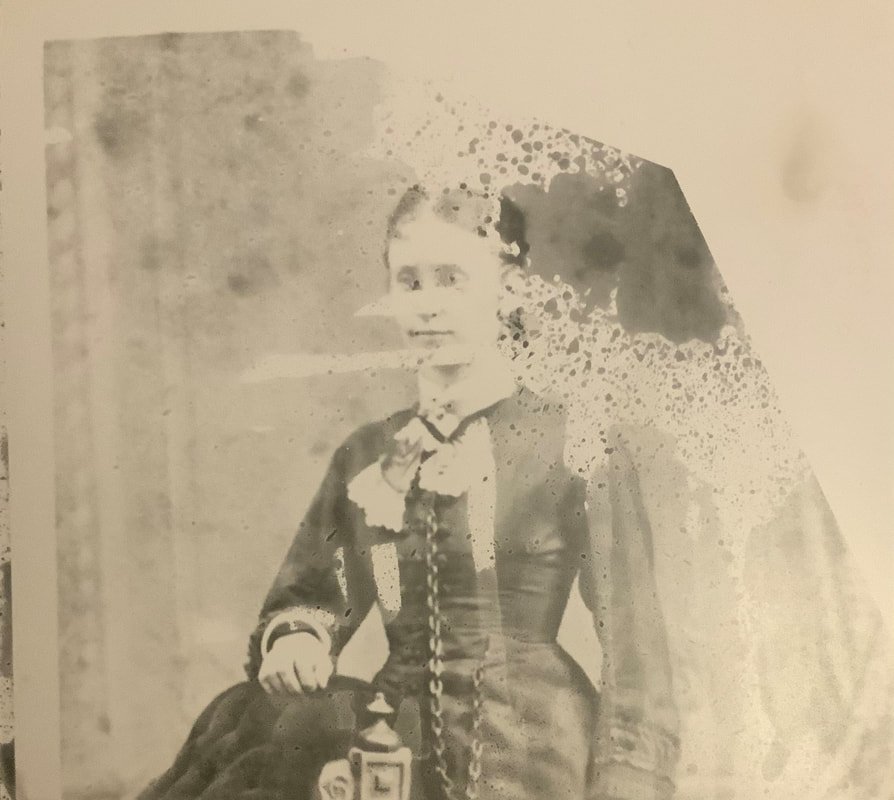
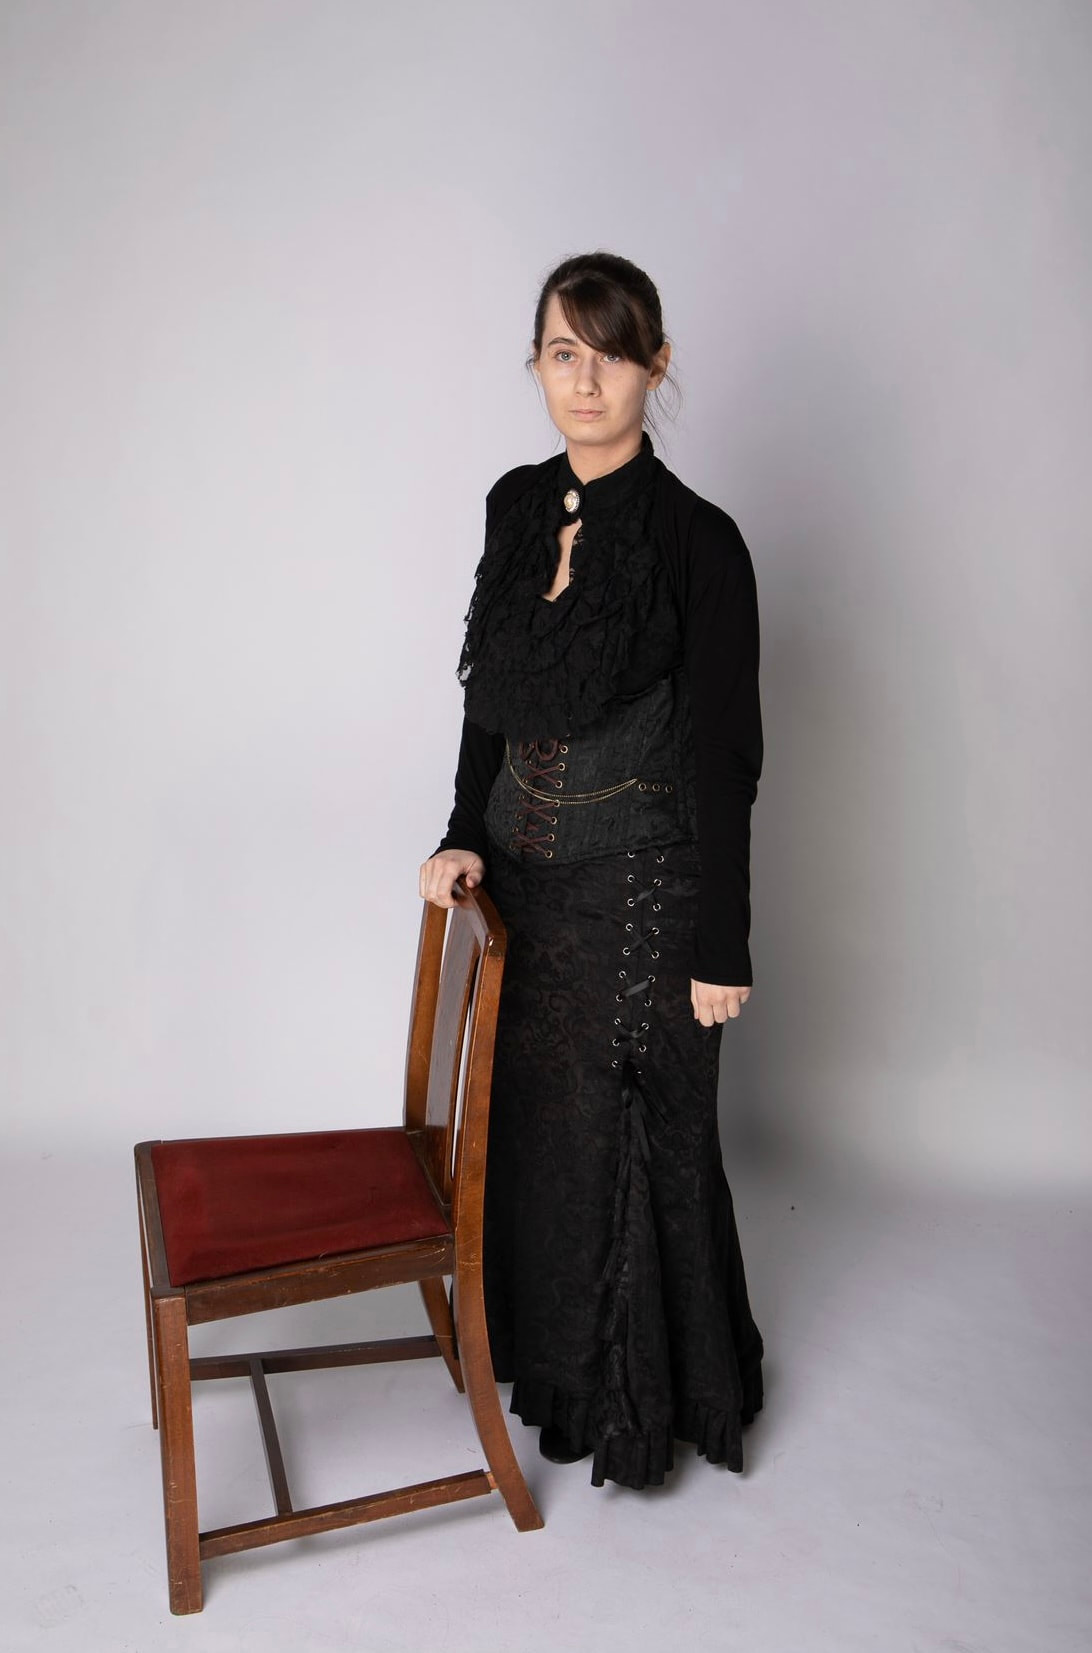
TestsThe next step would be testing out my idea. To do this I asked my tutor to print out the original photo I had found on the internet (but colour inverted) onto a sheet of acetate. Which I could then use to create a photogram in the darkroom and experiment with the development process. First thing I did in my experiment was to create a normal photogram from the acetate without using any spray on paint brushes to apply the developer, just so I had a basis to work off of. After I had done that I then created another one but this time by using a variety of sprays, brushes and sponges to apply the developer so I would be able to see how the different applications would effect the end result. As I expected the spray worked really well and it was definitely something I was going to use for the real thing. The sponge and brush however I wasnt so keen on so I decided to I’d just develop the rest of the image by placing it in the developer as you normally would. During the exposure I also covered the top right corner of one of the images with a board and my ID card just to see how it would look. This is another element I like and intend to use in my final piece. Final PieceTaking the photoFinally I was able to make my final piece. To do this I first enlisted the help of a couple of the guys in my class to take photos of me in the photography studio using a DSLR camera, while I modelled some Victorian esque clothing I had. I decided to pose in a similar fashion to what the original photo was like, the one I found online. As I was wearing a lot of black we had to light the bottom of my skirt too because otherwise it didn’t show up properly on the camera. Editing the photo (Lightroom and Photoshop)Next I then selected the image I liked most and edited it in a combination of both Lightroom and photoshop. First thing I did was put it through Lightroom, turn it black and white and up the shadows. Then I imported the image into photoshop, cut out me and a portion of the chair and then overlap that with the original image I used for my visualisation. I also cut out the figure from the original image. Initially I was thinking of substituting the background for one of my own images I have of Victorian rooms (taken while at national trust houses) however it occurred to me while going through them that none of them would fit exactly what I wanted. And so I just decided to use the background of the image I found online. Only problem with this being that I had to invent textures where I had cut out the figure from the online image since my skirt was no where near as big as the lady’s in the photo. Luckily I have experience with this kind of thing so I duplicated the wall on the left and just carrying on that pattern till it reached my hand, before smoothing out the entire thing. The right wall however was not as easy as their wasn’t really any textures I could just duplicate. So instead I used a variety of brushes to draw the rest of the wall and carpet. I also flattened out some of the details in the original carpet so it would better fit with the rest. Before overlaying a photo of a carpet on the floor part of the image to give it that more grainy carpet-y feel. Finally I ran the image back through lightroom to make it all uniformed. Oh and I also used photoshop to change the inscription on the bottom to my name and towns. Darkroom processOnce I had completed all of the digital elements of my project, I could begin on the analogue. Similarly to my test run, I asked my tutor to print out my new inverted photo onto a piece of acetate. Which I then used to make a series of photograms in the darkroom. I did one full image and two with the spraying technique. I also then did a photogram of a piece of lace and a perfume bottle which I intended to scan in and combine in photoshop. The Last Stage (a.k.a. Back in photoshop again)Unsurprisingly I then scanned in all the images I needed. Before then using photoshop to combine all the images. I decided to overlap two of the full body photos I made in the darkroom as I really liked the spraying texture on one and the detail of the outfit on the other. 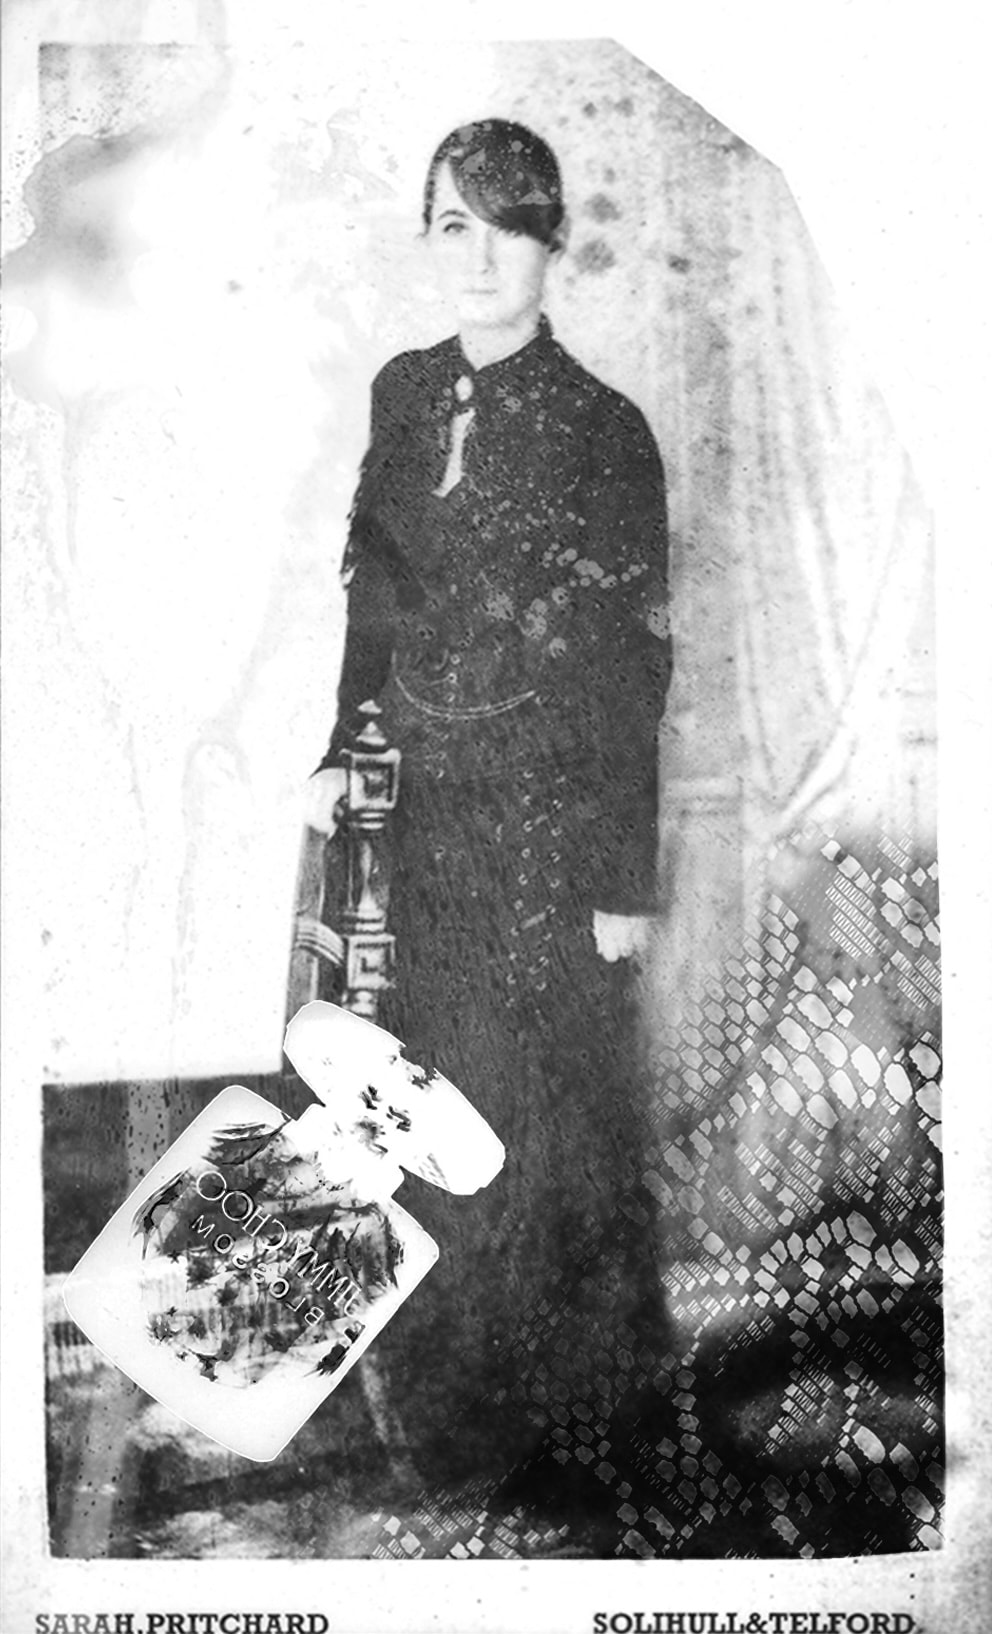 Reflection and InfluencesMust say I’m quite pleased with how this all turned out especially since their were so many steps where things could’ve easily gone wrong. Truth be told if I were to do this again I don’t think I would change anything. I am very satisfied with how it turned out not just from an aesthetic point of view but also from looking at the brief criteria. After all I think this is a perfect way to merge both the analogue and digital aspects of this unit while also tying it all back to the origins of commercial photography, Victorian full body portraiture. With a couple extra items that give it that mixed media feeling which I was thinking of doing with my second initial idea. In that regard you could say that this piece has influences from Chloe McCarrick as she uses a lot of mixed media in her works. However I’d say my final piece is more a kin to the works of Angela Chalmers, with that kind of ghostly imprint of objects overlayed onto people. Of course she primarily works in cyanotypes whereas this is photogram (amongst other things) but it’s a similar concept.
0 Comments
Leave a Reply. |
|||||||

 RSS Feed
